Monday, August 9, 2010

Hoot Hoot Hooray!


I just wanted to show you a card I made for a Grab Bag Swap. It uses almost all retired Stampin' Up! supplies. I actually kind of made up a card fold for this one! It kind of just developed...


The above view shows a card closed and a card open. The card size is like a "regular" card size, just cut the long way. I started folding away, planning to make a stair-step card or something like that. I turned it sideways and glued down the little flap with stampin dimensionals.


Here's the inside! I think the stars with the saying look really cute and lead the eye along. There's lots of open space in the inside of this card to write on.

Saturday, August 7, 2010

Cardinal Christmas


I've been busy! I finally got around to making a card! I used the color challenge - Blushing Bride, Riding Hood Red, Early Espresso.

Friday, July 30, 2010

More projects - Crimped envelopes and Dahlia

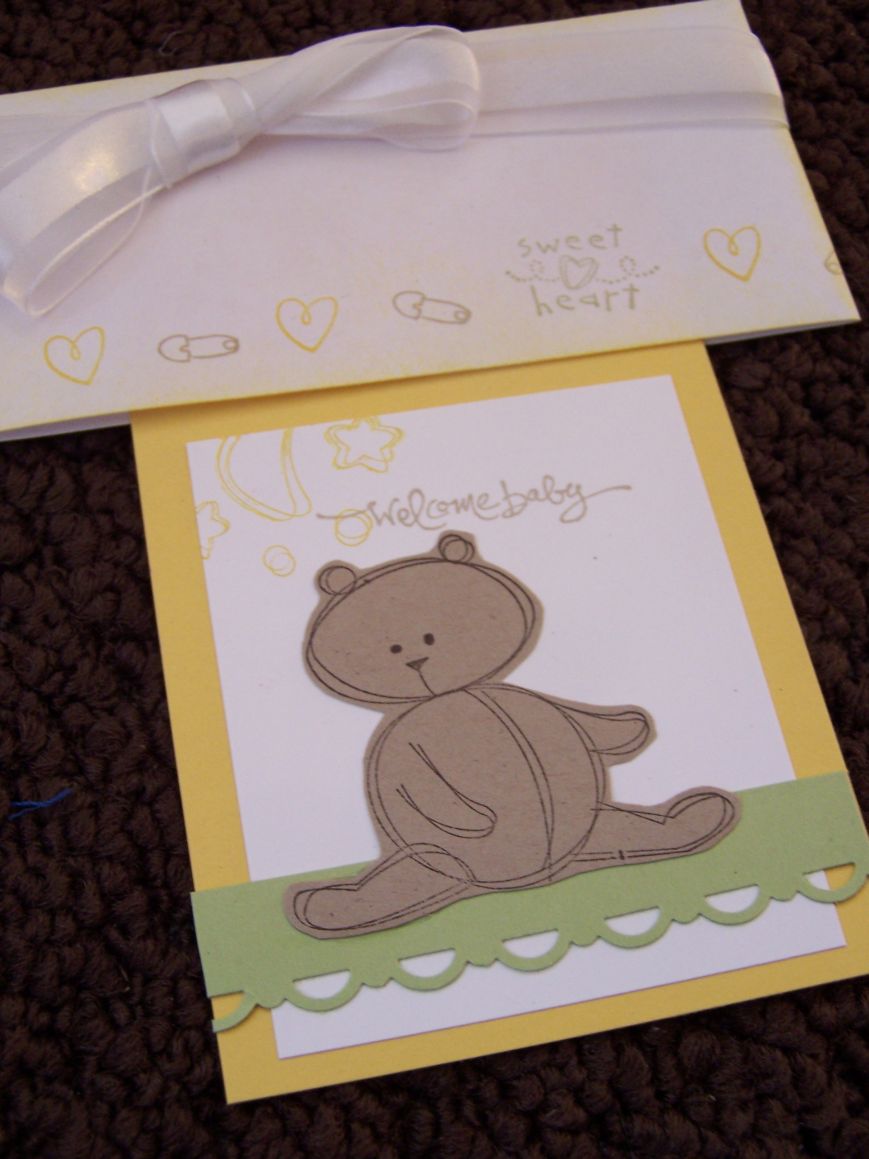
Some more projects for the Artisan sale tomorrow. I wanted to make a few Crimped Envelope pocket cards cause I know they're a hit!

I embossed the outline with black for an extra special effect and also sponged.


One for baby, using my favorite baby set - Bundle of Joy (retired) and Short & Sweet.


Here's one that I thought would work for a guy birthday. I used a die cut to make the star, then put ink on the texturz plate and texturz the star. I used a bit more crimping, a scallop square and piercing on this one.

Crimped Envelope pocket cards are quite easy to make. If you want to learn how here's a link to the Splitcoast tutorial.

The last project making a box from one sheet of paper and decorated with the dahlia fold, clear rhinestone brad and bird punch for the leaves. Here's the tutorial for the dahlia fold. I used 12 punched scallop circles - punched out of patterned paper, then I reversed every other one. I used a retired wheel to decorate the whole box.

Thursday, July 29, 2010

Boxes

Here are some of the boxes I've made for my sale. I've never done either of these type before of boxes before. Let me tell you, I think I'm getting into making 3D items and having fun making them.


You can find the tutorial for making these Box in a Bag on Splitcoast.

For mine I used some retired Designer series paper, scallop trim punch, and some other punches. I used the little leaves and beautiful wings dies. On the purple one the "handles" are photo corner punches triangle up. The ribbon is threaded through the space in the center of the triangle. On the green one I just used a circle punch and jumbo eyelets and put linen thread through.


You can find the tutorial for 2-5-7-10 Box on Splitcoast also.

I used the Tailgaiting wheel and D is for Dog with eyelets and linen thread on the blue one. I did a bit of watercoloring to highlight some of the images. On the green one I used Tart & Tangy and the sentiment "so sweet" from Goody-Goody Gumdrops (retired) and I clear embossed the swirl from the Christmas set "Season of Joy". I just punched some bigger holes with the crop-a-dile and threaded the ribbon through.

Thanks for looking! By the way these will be filled with CANDY!

Wednesday, July 28, 2010

Frame #3


The third frame that I made. It's a great way to use designer paper!


The sentiment I wanted didn't fit in this shape so I cut it out and pasted it for a bit of a different look.

Very simple frame and quite easy to do. I just added buttons and a ribbon!

Thanks for looking! I'm really happy with how all 3 turned out!
Check back tomorrow for some of the other 3D projects I've been making.

Tuesday, July 27, 2010

Frame #2


Here's the second frame I altered.

This one I thought would be better for a boy picture. I textured the stars and added some linen thread.

The sentiment says "you make me smile"

Monday, July 26, 2010

Guest Designer

I was very excited to be the guest designer for the Clean and Simple challenge on SplitcoastStampers today!

The challenge was to be inspired by the title "One Fish, Two Fish, Red Fish, Blue Fish"

Here are the cards I made for the challenge...


I stamped the whale image 3 times on different colors cardstock then cut out and pieced it together.


The background is texturz embossed and I inked the edges with blue.

It was a fun priveledge to be a guest designer. Now I'm looking forward to being a hostess for the Virtual Stamp Night coming up on Splitcoast. VSN Mini - July 30. VSN Summertine in the Land I Love - Aug 27 and 28. Hope to see you there - everyone is welcome to participate. (ask me for more details)

Saturday, July 24, 2010

My first altered FRAME!


This is my first ever altered item. I found an Artisan Market so I wanted to have some great items for sale. I had these frames sitting around that I wanted to embellish and this was a great opportunity to dive right in.

Normally I don't really enjoy making 3D items, but this was actually quite fun. I have 2 more that I want to embellish as well and I'll show you later this week if I get around to it.


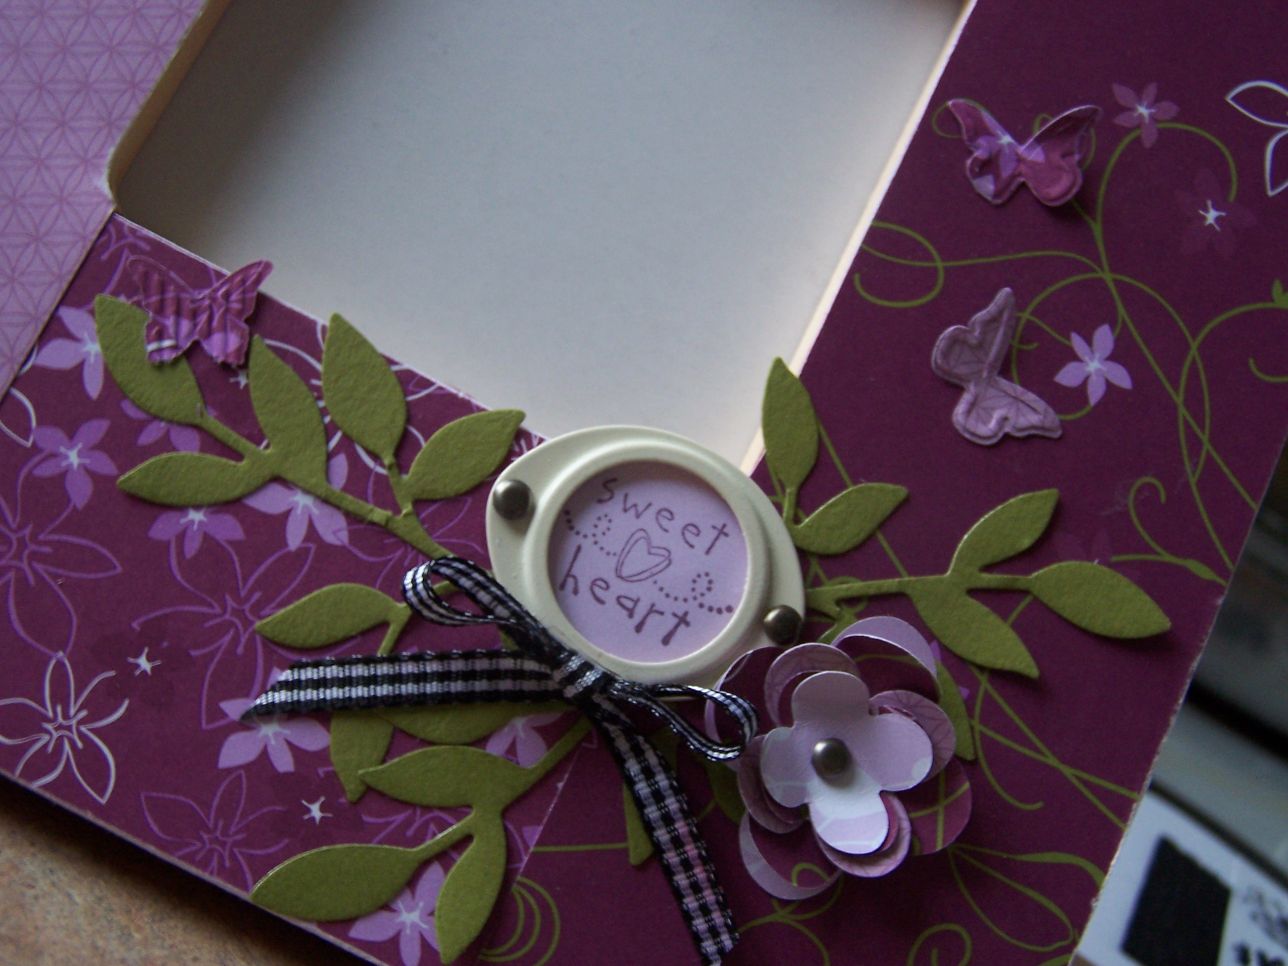
I used Cottage Wall designer series paper. I used hodgepodge hardware, gingham ribbon and some die cuts - floral fusion, beautiful wings and little leaves. The sentiment is from a baby set - Bundle of Joy. There are 4 butterflies on here, see if you can find them all.

I actually almost hope this frame doesn't sell and I can keep it to put my daughter's picture in!
Thanks for looking.

(Yeah, my computer is back!!!)

Friday, July 23, 2010

Simply black and white


Sorry I've been away for so long! My computer has been away for repairs. I still don't have it back. I'm finally venturing to try to use my husband's computer.

I was requested to make a black and white card for someone and wanted to try to keep it simple. The sentiment is from the new hostess set "Occasional Quotes"

The black background is embossed with the Big Shot and Vintage Wallpaper. The flowers are made by layering boho blossoms punch and brads or clear rhinestone in the center. I pierced a row alongside the sentiment.

I think I might try to make this card in different colors as well. I really like it!

Thanks for looking. I hope I get my computer back soon and will be back up and running as normal soon!

Saturday, July 17, 2010

Stampin' Up! - summer

My computer is being fixed right now so I haven't been able to share samples lately.

Just wanted to mention a few Stampin' Up! specials for those of you in the Red Deer area who are visiting my blog...

CLASSES - $15 for 3 projects. $5 OFF when you bring a friend. All supplies included!

CLUBS - I'll be starting up MONTHLY CLUBS. Get Hostess benefits and learn great techniques!

WORKSHOP - Host a workshop with your friends for FREE and earn great hostess benefits. SUMMER WORKSHOP SPECIAL - I pay the shipping for you and your guests PLUS you get the regular hostess benefits!

CARDS - I also sell cards

Hopefully I'll be back soon to share some more samples!

Tuesday, July 6, 2010

Texture Class Card #1


If you're in the Red Deer area - here's the first card that will be part of my Card-Making Class on Texture. If you want to attend the class please let me know ahead of time!


Here's a close up!

Colors: Crumb Cake, Chocolate Chip, Rose Red, Old Olive
Textures: Crimping, Distressing, Sponging, Crumpling, Pop up with Stampin' Dimensionals
Stamp Sets: Forest Friends, Oval All

Moved to Springbrook/Red Deer

We have moved to the wonderful town of Springbrook, which is only a few minutes from Red Deer, Alberta. I still don't have my scrapbook table fully set up yet. I hope to get that finished this week!

If you are in the Red Deer area and are interested in In-Home Workshops, Classes or Monthly Clubs please let me know as I'll be arranging some new events shortly! I also sell hand-made cards.

Hope you all have a great day and week!

Thursday, June 24, 2010

Colored motorcycle


Yippee, my stuff is not packed up... yet! Maybe today... or tomorrow!

I got a chance to do today's Pals Paper Arts Challenge.

I needed some more manly cards for my stash and what better image to use that the Motorcycle stamp! On this card it's popped up with dimensionals.

For the background I used a wheel.
I got the idea to color the motorcycle from other cards I've seen.

The colors are: Very Vanilla, Always Artichoke, Not Quite Navy, Marina Mist! (black ink) I just LOVE how Not Quite Navy and Marina Mist look together.

Monday, June 21, 2010

CAS72 - Color Renovation & Hostess Set

Here's a sneak peek at some of the new goodies Stampin' Up! is coming up with available July 1st!


I used a new hostess set - Because I Care. It has a beautiful flower image that I used to stamp as a background for my sentiment.

To find the colors I wanted to use I went to this fun site...
My Create Ink - Color Lab
It has all the new Stampin' Up! colors and all current colors. It's really easy to play around with and get ideas for color combinations. I put the link on my sidebar as well.

The colors I used are: Pink Pirouette (textured) for the card base. The 3 strips are Marina Mist (love this color!), Crumb Cake (formerly known as Kraft) and Baja Breeze. I stamped on white and popped up on a punched out and pierced piece of Early Espresso. The ink is Pretty in Pink, Rose Red and Early Espresso.

Enjoy this clean and simple card and go to Splitcoast Stampers to make your own for this challenge.

{I am moving in a week, so I probably won't be updating my blog for a while. Don't worry, I'll be back! Sadly my scrapbooking stuff needs to be packed up tomorrow}

Saturday, June 19, 2010

Cutie penguin


Here's a really cute layout today from Stampin 411 I kept off a few of the layers so I could really emphasize the black, red and white of the image.

This card was for an inspiration challenge on Splitcoast Stampers. I was inspired by this cute dish.


I used a few retired items. The penguin is from Wild About You and the stars in the background are from Starring You (retiring at the end of the month). I made my own balloon simply with a circle punch and I shaded it a bit with a darker red and white gel pen and drew a line with black Stampin' Write marker.

I used distressing on the edges and the square lattice embossing folder. The sentiment is from Short & Sweet and I layered it with word window punch and modern label punch. I made this as a birthday card, but I supposed it could work for other occasions as well.

Colors: Soft Suede, Kraft (Crumb Cake), White, Black, Real Red

Thanks for looking! Have a great weekend!