Showing posts with label box. Show all posts

Sunday, January 16, 2011

My first Matchbox!


Here is my first attempt with the Matchbox die. Normally I am quite scared of making 3D items, but I'm trying to get out of my comfort zone and try something new!

This is actually the 3D project we'll be making at Saturday's class!


I used Not Quite Navy, Marina Mist and white. I sponged the sentiment layers. The butterflies are made of vellum!


I didn't realize how TINY this box is and how CUTE! I'm quite pleased with it and will be experimenting with it more in the future!
I put a Loonie (Canadian dollar coin) in there so you can get some idea of how small this is.

Friday, July 30, 2010

More projects - Crimped envelopes and Dahlia

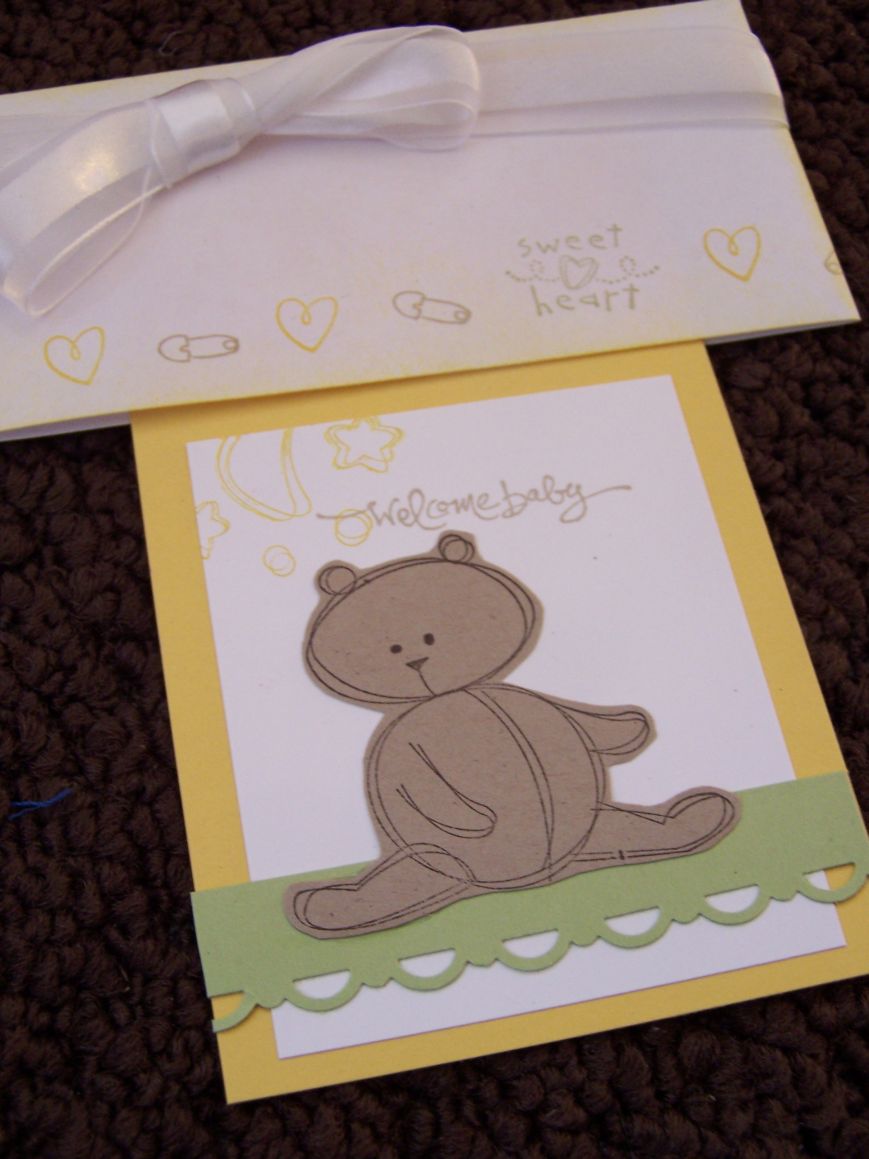
Some more projects for the Artisan sale tomorrow. I wanted to make a few Crimped Envelope pocket cards cause I know they're a hit!

I embossed the outline with black for an extra special effect and also sponged.


One for baby, using my favorite baby set - Bundle of Joy (retired) and Short & Sweet.


Here's one that I thought would work for a guy birthday. I used a die cut to make the star, then put ink on the texturz plate and texturz the star. I used a bit more crimping, a scallop square and piercing on this one.

Crimped Envelope pocket cards are quite easy to make. If you want to learn how here's a link to the Splitcoast tutorial.

The last project making a box from one sheet of paper and decorated with the dahlia fold, clear rhinestone brad and bird punch for the leaves. Here's the tutorial for the dahlia fold. I used 12 punched scallop circles - punched out of patterned paper, then I reversed every other one. I used a retired wheel to decorate the whole box.

Thursday, July 29, 2010

Boxes

Here are some of the boxes I've made for my sale. I've never done either of these type before of boxes before. Let me tell you, I think I'm getting into making 3D items and having fun making them.


You can find the tutorial for making these Box in a Bag on Splitcoast.

For mine I used some retired Designer series paper, scallop trim punch, and some other punches. I used the little leaves and beautiful wings dies. On the purple one the "handles" are photo corner punches triangle up. The ribbon is threaded through the space in the center of the triangle. On the green one I just used a circle punch and jumbo eyelets and put linen thread through.


You can find the tutorial for 2-5-7-10 Box on Splitcoast also.

I used the Tailgaiting wheel and D is for Dog with eyelets and linen thread on the blue one. I did a bit of watercoloring to highlight some of the images. On the green one I used Tart & Tangy and the sentiment "so sweet" from Goody-Goody Gumdrops (retired) and I clear embossed the swirl from the Christmas set "Season of Joy". I just punched some bigger holes with the crop-a-dile and threaded the ribbon through.

Thanks for looking! By the way these will be filled with CANDY!